
Do you want your emails to look more professional with a personalised signature?
Are you wondering how to add clickable links to your social media platforms in your email footer?
In this article, I will show you how to create a personalised signature within Outlook with links to your website and social media so that it appears on all emails that you send.
NOTE: If you have a Microsoft Office 365 account and use Outlook in addition to Outlook On The Web or Outlook On The Web For Business, you will need to set up your signature on each. To see how to create personalised signatures for your web applications see Create and add an email signature in Outlook Web App.
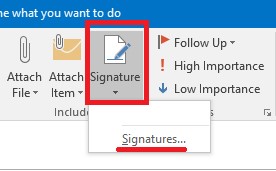
In order to create the personalised signature, you first need to create a new message, don’t worry this can be deleted. Once you are in your new message, select Signature from the top menu and then Signatures again.
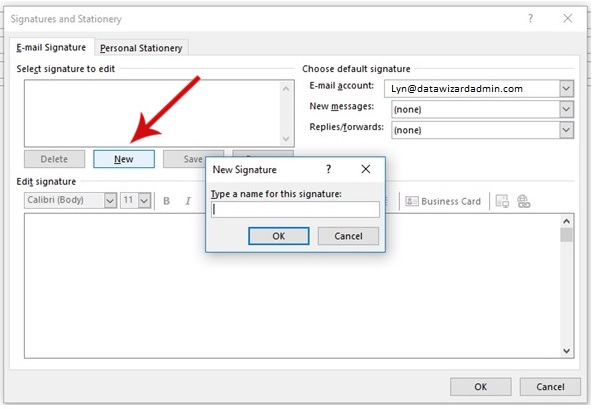
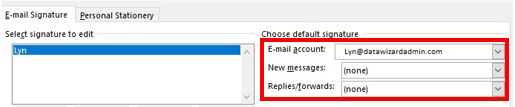
A dialogue box will appear entitled ‘Signatures and Stationary’. On the right side under the heading ‘Choose Default Signature’ select the email account you wish to create a signature for. Once chosen, click New and give your New Signature a name (this helps to identify which signature is being used against which email address in the case of several email accounts).
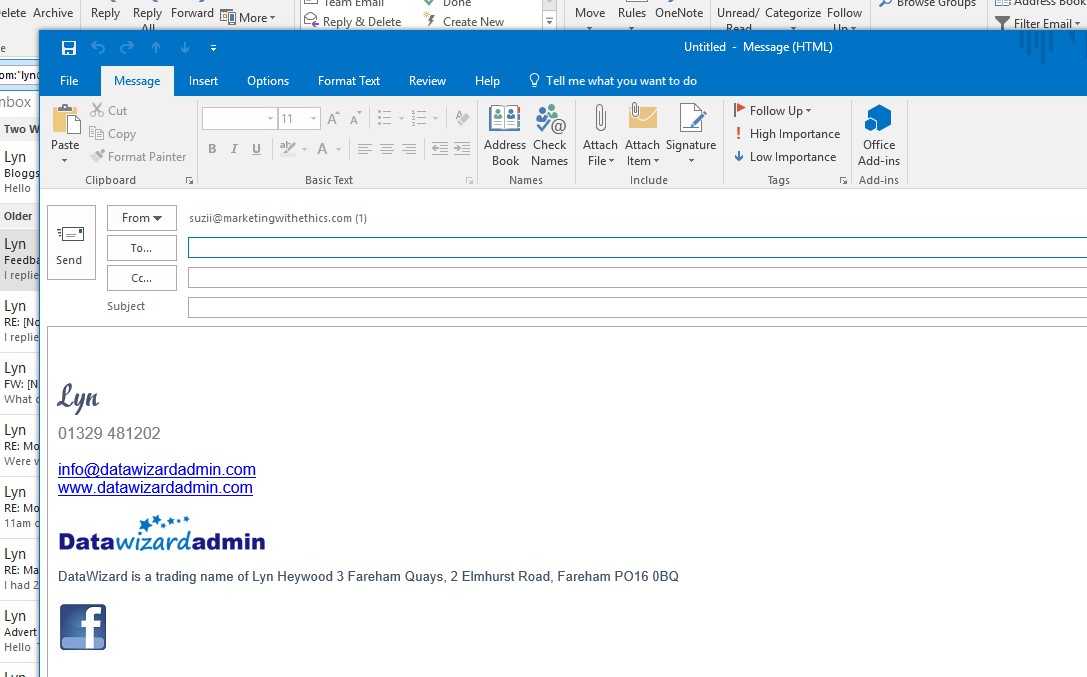
Then fill in the relevant details that you wish to appear at the bottom of your emails. You can also include logos and social media icon images using the button highlighted (1), however, you must ensure the selected images are the size you wish them to appear as you are unable to alter the size once added.
You can amend the font, colour and size of the text in the same way as you do within an MS Word document with the mini formatting toolbar above the text box to give a more aesthetically pleasing look (2).
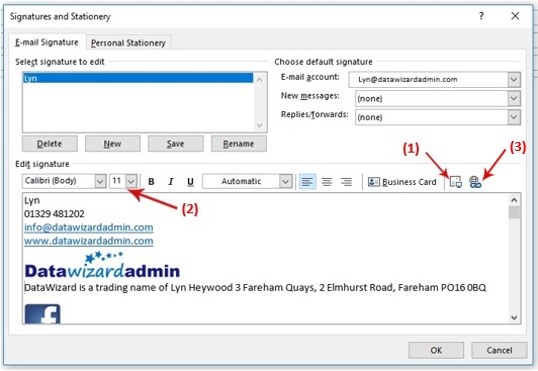
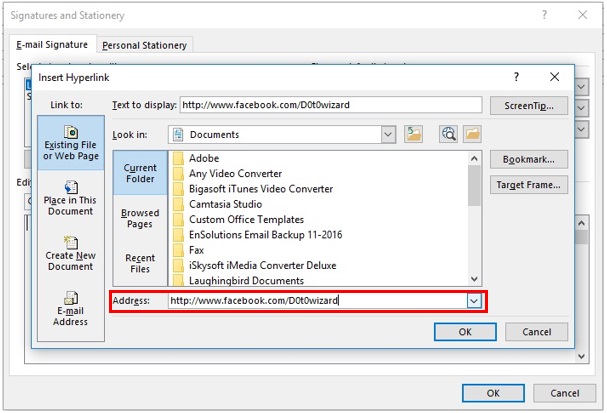
Then it is time to add the hyperlinks to the images. NOTE: Outlook will automatically add hyperlinks to recognised web addresses. To do this, highlight the image you wish to add the hyperlink to and then click on the link icon (3 above) and a dialogue box will appear for you to add the URL you wish the recipient to be redirected to, then select OK.
The final step is to decide when you want your personalised signature to appear. This will default to ‘none’ and can be changed by simply clicking on the down arrow to the right and selected the newly names signature. You can choose to only show your signature on new messages or both new and reply/forward messages.
Once all steps have been completed, click OK to save your signature and discard the new message. To see the final creation, simply create a new message and your signature will be displayed. I highly recommend you check the clickable images to ensure they are redirected to your desired destination.
You now have a professional, personalised signature to impress your email contacts and give additional opportunities for people to find your website and social media platforms.
Are you struggling to keep up with your inbox? We are here to help. If you would like us to manage your emails and appointments for you, call Lyn on 01329 481202 or click on the ‘Request Call Back’ button below.

If you have found this article helpful, please share and tweet. You may not be the only business owner that finds it useful.